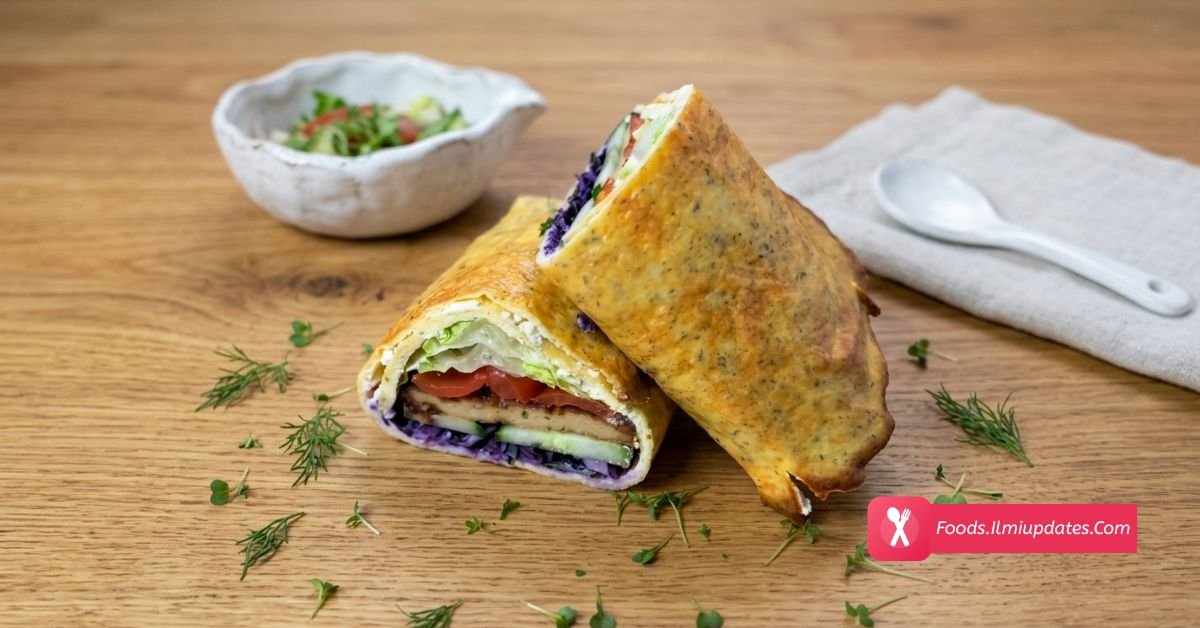
The Cottage Cheese Wrap Everyone Gets Wrong — One Step Fixes It
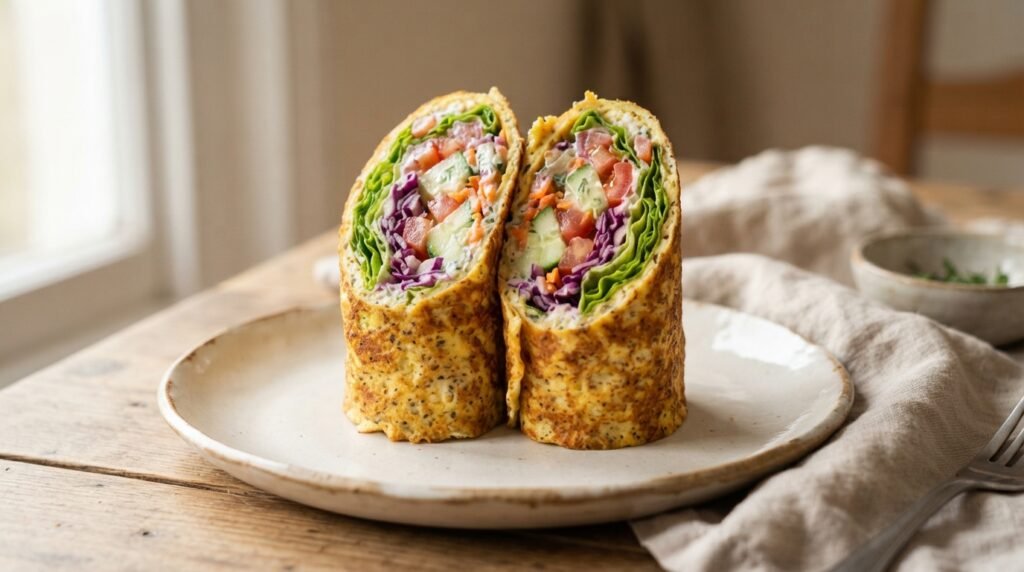
If your cottage cheese wrap tore the moment you tried to roll it, you did not fail at cooking. You skipped a step — and it is a step most viral versions of this recipe never mention. The fix takes ten minutes of doing nothing at all.
The cottage cheese wrap has been circling social feeds since 2024, and it has outlasted almost every other food hack from that period. <cite index=”6-1″>It was still being named the most trending viral recipe in cooking as recently as early 2026</cite>, which for a TikTok-born recipe is close to immortality. The pitch is simple: blend cottage cheese with egg, bake it thin, roll it like a tortilla. No flour, no yeast, roughly 30 grams of protein and single-digit carbs.
The pitch is accurate. The execution is where people lose. Scroll the comments under any of the big recipe posts and you’ll find the same three complaints repeating: it tore, it was too dry, it stuck to the paper. All three trace back to two variables nobody puts in the headline — moisture and thickness.
This guide gives you the recipe, and then it gives you the reasons, so that if something goes wrong you know exactly which dial to turn.
The 40-Second Answer
A cottage cheese wrap is a flour-free flatbread made by blending drained cottage cheese with egg, spreading the batter 2–3mm thin on greased parchment, and baking at 180°C (350°F) for 25–30 minutes until golden. Draining the cottage cheese for 10–15 minutes first is what makes it flexible enough to roll instead of tear.
Key Takeaways
- Drain the cottage cheese for 10–15 minutes. This is not optional. Excess whey is the single biggest cause of a wrap that tears.
- Spread it 2–3mm thin. Thick batter bakes into an omelette, not a wrap. Wider is better than thicker.
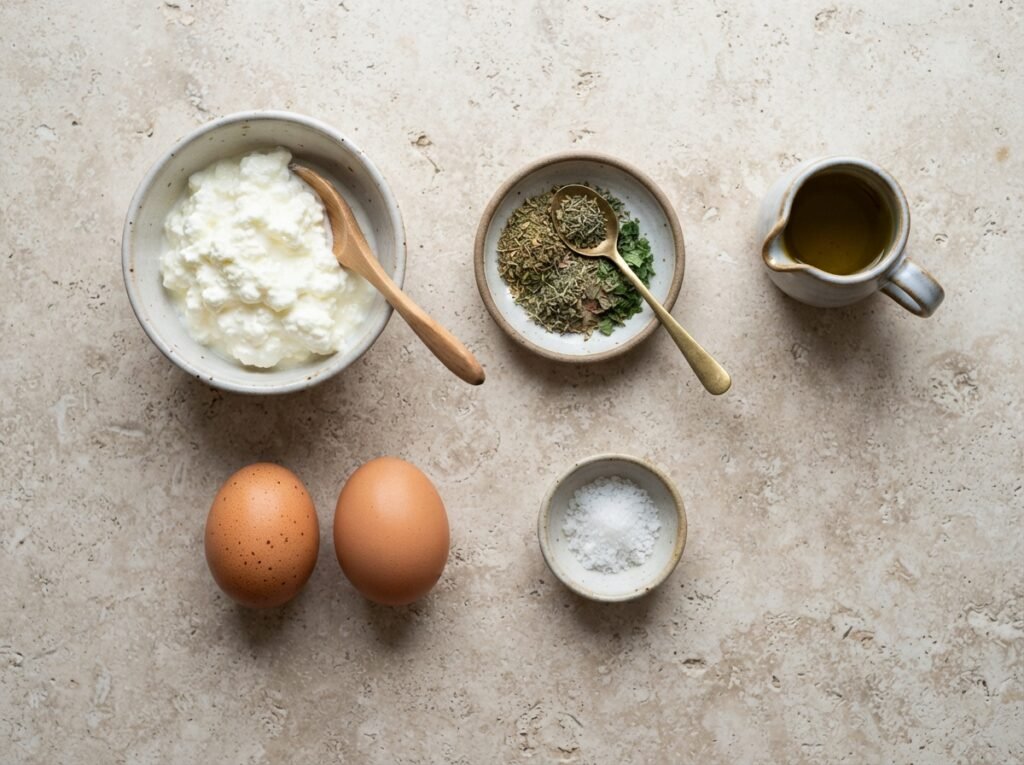
- Bake it fully — golden top, lightly browned edges. Pale means underbaked, and underbaked means sticky.
- Cool it 5–10 minutes before rolling. It is rigid when hot and flexible once rested. Rolling early is how it cracks.
- Roughly 340 kcal, ~32g protein, ~6g carbs per wrap before fillings.
What a Cottage Cheese Wrap Actually Is
Strip away the trend language and this is a savoury protein crêpe. Cottage cheese brings the bulk and the casein; egg brings the structure that holds it together when you lift it. Baked thin and flat, the mixture sets into a soft, pliable sheet with a mild, faintly cheesy flavour — closer to a thin frittata than to bread, and honest food writers say so. <cite index=”6-1″>Reviewers commonly note an eggy undertone and say it doesn’t match real bread for chewiness</cite>. If you go in expecting a tortilla, you’ll be mildly disappointed. If you go in expecting a high-protein vehicle for fillings, you’ll be very happy.
That distinction matters, because it tells you how to use it. This wrap is at its best with a filling that has crunch and acidity — salad, cucumber, pickled cabbage, tomato — where its mildness becomes an asset rather than a flaw.
Ingredients
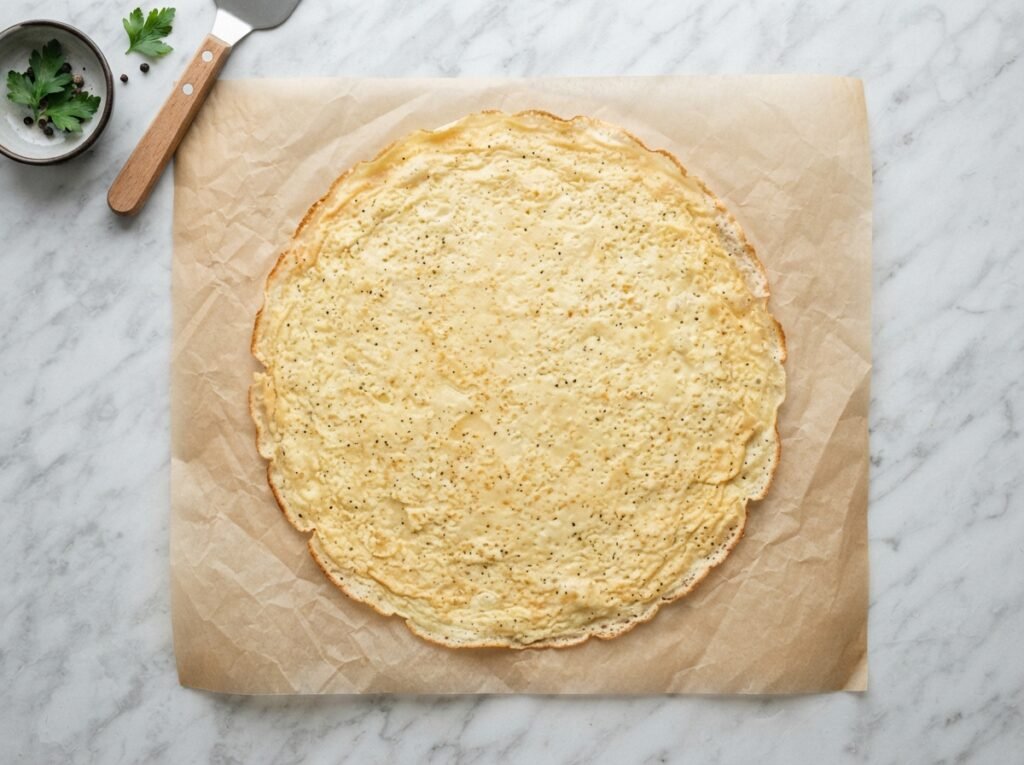
For the wrap (makes 1 large wrap):
- 180–200g full-fat cottage cheese, very well drained
- 2 medium eggs
- ¾–1 tsp salt
- ½–1 tsp Italian herbs (optional)
- ½–1 tsp olive oil, for the baking paper — not in the batter
Suggested filling:
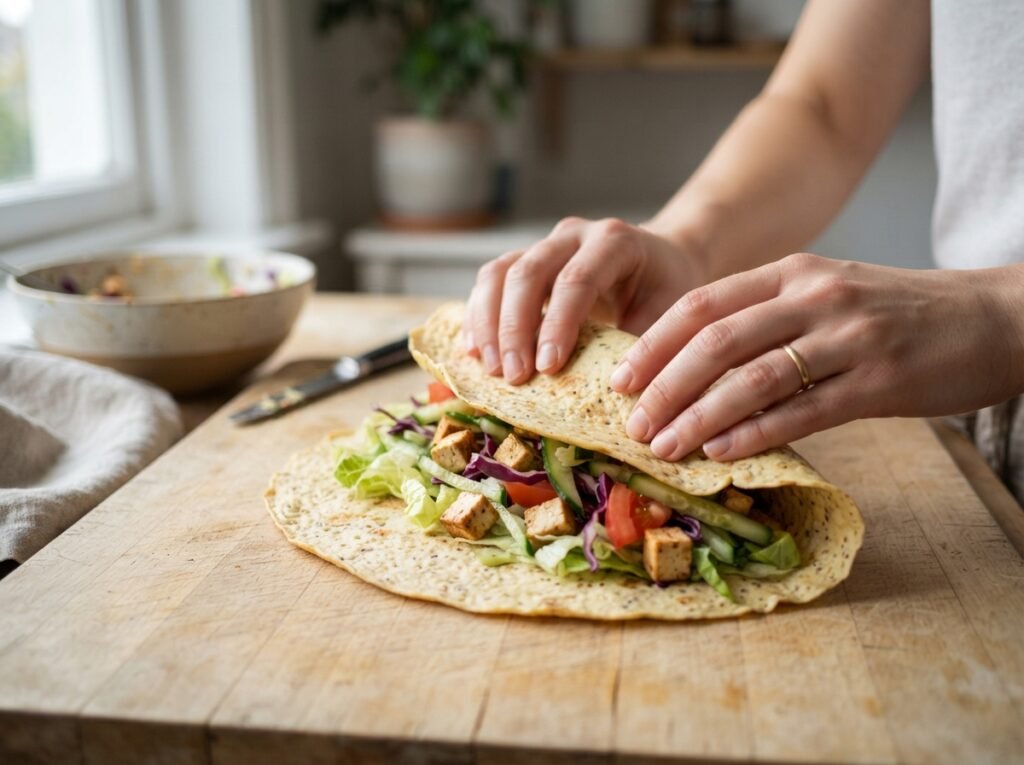
- Cucumber, lettuce, red cabbage, tomato, tofu
Two notes worth your attention.
Use full-fat. Fat-free cottage cheese contains proportionally more water and less of what binds, and the finished wrap tends to come out rubbery rather than tender. <cite index=”3-1″>Recipe developers working with this method specifically recommend 4% or 2% cottage cheese and warn against fat-free versions for exactly this reason</cite>.
The oil goes on the paper, not in the bowl. Oil in the batter softens the structure. Oil on the parchment is what lets the finished wrap lift off cleanly. Getting this backwards is the most common reason a wrap that baked perfectly still ends up in pieces.
Step 1: Drain the Cottage Cheese (The Step That Matters)
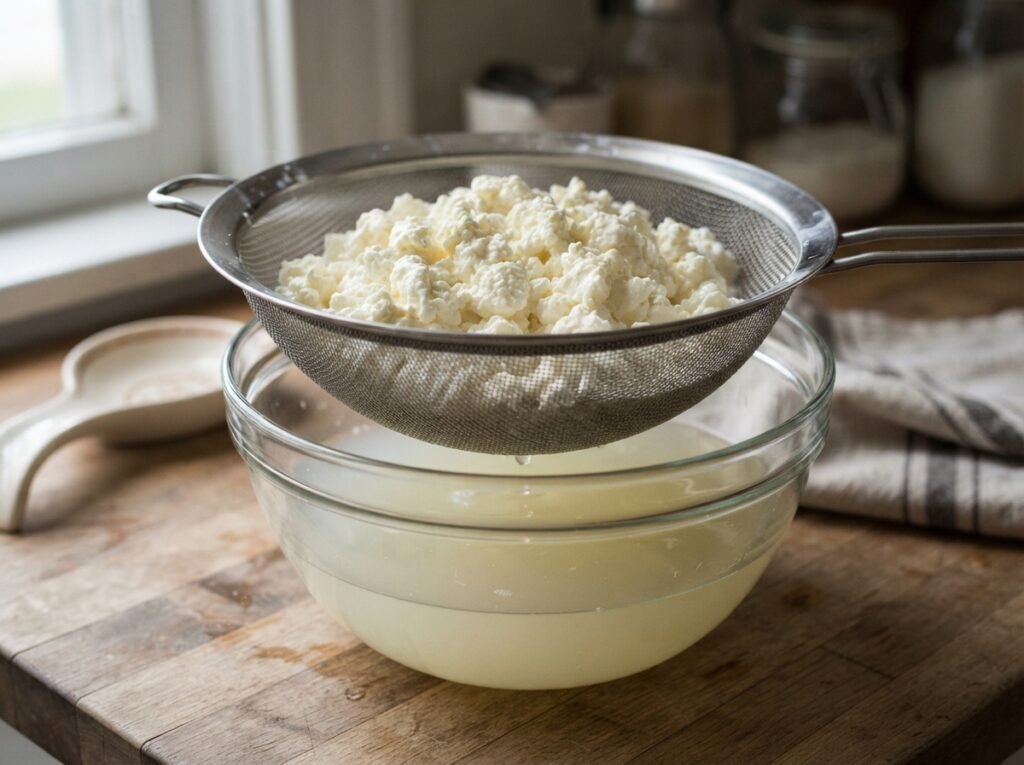
Tip the cottage cheese into a sieve and leave it for at least 10–15 minutes. If you’re in a hurry, press it gently with kitchen paper afterwards.
Here is why this earns its own heading. Cottage cheese is curd suspended in whey, and whey is mostly water. Water in the batter has to leave during baking, and it leaves as steam pushing up through a sheet that is only millimetres thick. The result is a wrap with weak spots — thin, over-steamed patches that split the instant you apply the bending force of a roll.
Drain it and you change the ratio. More curd, less water, a denser and more even batter, and a wrap that flexes instead of fracturing. This is also why the honest first-hand reviews land where they do: <cite index=”10-1″>testers who worked through multiple versions found that binders and moisture management were what kept the fillings in the wrap rather than on the floor</cite>.
Ten minutes. It’s the highest-return ten minutes in the whole recipe.
Step 2: Blend the Batter
Add the drained cottage cheese, eggs, salt and herbs to a blender or food processor and blend until completely smooth — no visible curd left.
You’re looking for a batter that is thick, glossy and slightly viscous: it should pour, but slowly, and fall off the spatula in a ribbon rather than a splash. If you can still see individual curds, keep going. Unblended curd creates uneven density, and uneven density creates tear points.
Undersalting is the other quiet mistake. This batter contains no flour and no fat carrier, so salt is doing most of the flavour work. That said, don’t overdo it either — <cite index=”10-1″>a half-cup serving of cottage cheese already carries over 350mg of sodium on its own</cite>, so the ¾–1 tsp in the recipe is a ceiling, not a starting point.
Step 3: Spread It Thin
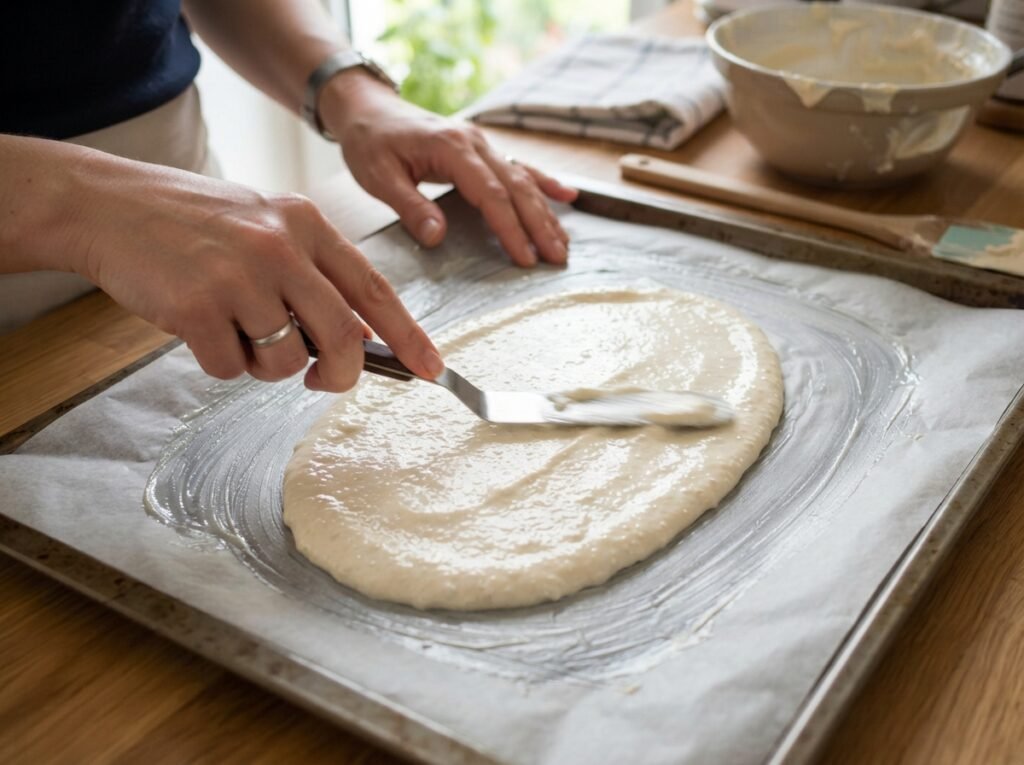
Lightly grease your parchment paper with the olive oil. Pour the batter into the centre of the sheet and spread it outward into a 2–3mm layer — round or oval, your choice.
Thinner is always the right call. If you’re deciding between a smaller thick wrap and a larger thin one, take the larger thin one every time. Thickness is the second of the two variables that decide this recipe:
- Too thick → the centre stays wet while the edges overbake. You get something omelette-like that folds but won’t roll.
- Correct (2–3mm) → it bakes evenly edge to centre and stays flexible.
- Too thin → you can see the parchment through it, and it bakes into a crisp rather than a wrap.
The test is visual: the batter should fully mask the paper’s colour, but only just.
Step 4: Bake
180°C (350°F), conventional top-and-bottom heat, for 25–30 minutes.
Don’t judge it by the clock alone. Judge it by these two signs:
- The surface has turned golden
- The edges are lightly browned
That browning is not decoration — it is the visual signal that the moisture has cooked out. A pale wrap is an underbaked wrap, and an underbaked wrap sticks to the parchment and shreds on removal. The temperature and timing here also line up with what most working versions of this recipe converge on: <cite index=”10-1″>the majority of successful recipes bake at 350°F rather than flash-baking hot</cite>, and hotter-and-faster is a false economy. It sets the surface before the interior has released its water.
Slow, low, golden. That’s the whole instruction.

Step 5: Let It Cool — Then Roll
Rest it for 5–10 minutes before you touch it.
Straight out of the oven, the wrap is stiff and brittle. As it cools, the protein network relaxes and residual moisture redistributes evenly through the sheet — and that is when it becomes flexible. Roll it hot and it cracks along the fold. Roll it after ten minutes and it behaves.
Do not cool it completely under a lid or covered with foil, though. Trapped steam will re-soften the surface and undo the bake.
Is It Actually Roll-Worthy?
Yes — reliably so, provided three conditions are met:
✅ Baked thin ✅ Baked all the way through ✅ Cooled briefly first
Miss any one of them and you get the failures the internet complains about. Meet all three and it rolls like a tortilla.
One realistic caveat on filling: keep wet ingredients off the wrap surface. <cite index=”3-1″>This style of wrap pairs best with drier fillings, and very wet ones like salsa applied directly will soften it quickly</cite>. If you want sauce, put it on the filling in the middle, not spread across the base. And if your wrap is on the thin side, a taco fold is a safer bet than a full burrito roll.
Nutrition (Per Wrap, Before Fillings)
| Approx. | |
|---|---|
| Calories | ~340 kcal |
| Protein | ~32 g |
| Fat | ~22 g |
| Carbohydrates | ~6 g |
| Fibre | 0 g |
These are estimates. Real values shift meaningfully with the fat percentage of your cottage cheese, your egg size, and how much whey you drained off. Treat them as a range, not a reading.
The number that draws people in is the protein, and it holds up — that figure is in the same territory other developers report for the same method. <cite index=”9-1″>One widely-shared version puts the wrap alone at 34 grams of protein</cite>. That protein is largely casein, which digests slowly and is part of why the wrap keeps you full longer than a flour tortilla of the same calorie count.
The zero on the fibre line is the honest counterweight. This wrap is protein and fat with almost nothing else in it. Registered dietitians have raised precisely this point about the trend: <cite index=”10-1″>whole grains and high-fibre foods have a real place in the diet, and a whole grain wrap is one straightforward way to get them</cite>. So the sensible framing isn’t “this replaces bread forever.” It’s “this is a useful tool when you want protein up, carbs down, or gluten out — and your filling is where the fibre comes from.”
Who This Doesn’t Work For
- You want a bread substitute. It isn’t one. It’s a savoury protein sheet.
- You want fast. Roughly 40 minutes start to finish, most of it baking. <cite index=”10-1″>Even enthusiastic testers describe the baking time as long enough to be genuinely annoying</cite>. This is a meal-prep recipe, not a weeknight rescue.
- You’re avoiding dairy or eggs. There’s no meaningful substitution here — both ingredients are structural.
- You’re watching sodium closely. Cottage cheese is already salty before you add any.
Troubleshooting: The Three Failures
“It tore when I rolled it.” Moisture, thickness, or heat. Drain longer, spread thinner, or cool it before rolling. If you drained properly and it still tears, your batter was too thick — go wider next time.
“It stuck to the parchment.” Underbaked, or ungreased paper. Bake until the edges brown properly, and oil the parchment even if the packet says non-stick.
“It was dry and cracked.” Overbaked, or spread too thin. Pull it at golden, not brown, and check that your batter is fully masking the paper.
“It tastes too eggy.” Season more assertively, or drop to a slightly higher cottage cheese ratio. Herbs, garlic powder and black pepper all pull the flavour away from plain egg.
The Verdict
The cottage cheese wrap earned its longevity honestly. It does what it says: high protein, low carb, naturally gluten-free, endlessly fillable. It is also fussier than a fifteen-second video can convey, and the gap between the video and your kitchen is almost entirely about water and thickness.
Drain it. Spread it thin. Bake it golden. Let it cool.
Do those four things and the recipe stops being a gamble.
7. FAQ
Why does my cottage cheese wrap keep breaking?
Almost always excess moisture. Cottage cheese sits in whey, and undrained whey creates steam pockets that leave weak spots in a wrap only millimetres thick. Drain it in a sieve for 10–15 minutes, spread the batter no thicker than 2–3mm, and let the baked wrap rest 5–10 minutes before rolling.
Can I make a cottage cheese wrap without eggs?
Not with this method. The egg provides the structure that lets the sheet hold together when lifted and rolled — cottage cheese alone has very little binding power. Egg-free versions exist but rely on added binders and behave quite differently.
What kind of cottage cheese works best?
Full-fat. Fat-free versions carry proportionally more water and tend to bake up rubbery. Curd size doesn’t matter since everything gets blended smooth.
How long does a cottage cheese wrap keep?
Best eaten the day it’s made. It can be baked a few hours ahead and left uncovered at room temperature, or refrigerated overnight and briefly reheated in a dry skillet to restore flexibility. Don’t store it covered while still warm — trapped steam makes it soggy.
Is a cottage cheese wrap actually healthy?
It’s high in protein (~32g), low in carbohydrate (~6g) and naturally gluten-free, which suits some goals well. It also has no fibre and is fairly high in sodium, so it works best as one option among others rather than a permanent replacement for whole-grain bread. If you have specific dietary conditions, check with a qualified professional.
Can I cook it in a pan instead of the oven?
A skillet version exists but is much harder — the sheet is fragile and difficult to flip without tearing. Baking is the more forgiving method and the one this recipe is built around.